DIY Wooden Christmas Trees

Dec 31, 2016

DIY Wooden Christmas Trees

When I was browsing my local packaging supply store earlier this month, I stumbled upon these wooden serving cones. I knew right away that they’d be the perfect mini Christmas trees, so I scooped a bunch up for holiday decorations. I think I’ll use these to decorate our dining table on Christmas morning.

DIY Wooden Christmas Trees

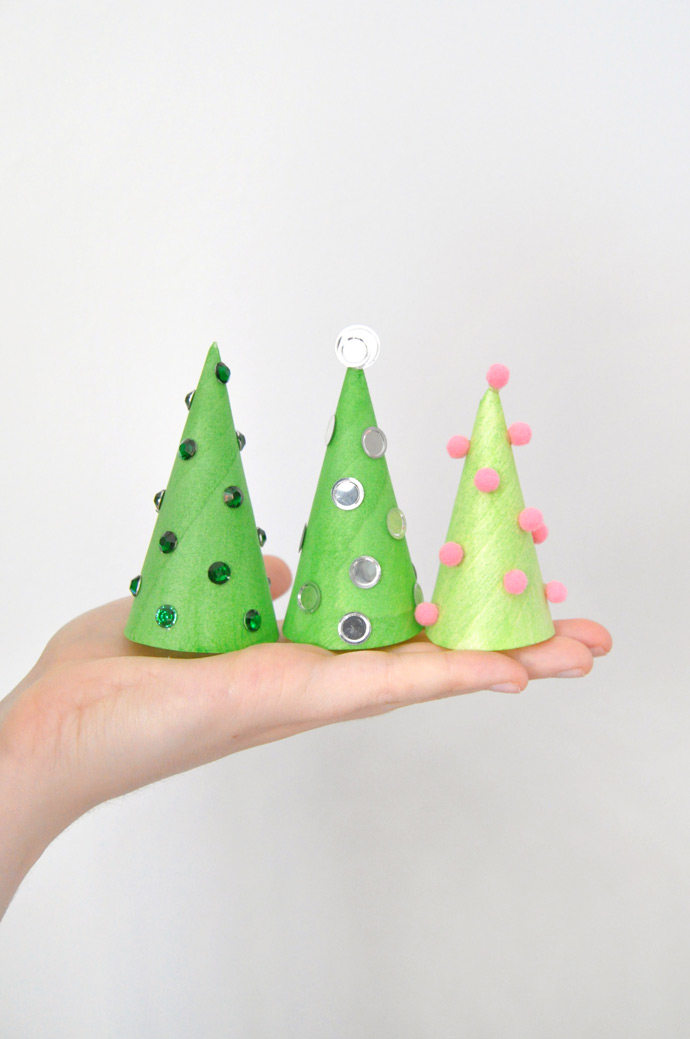
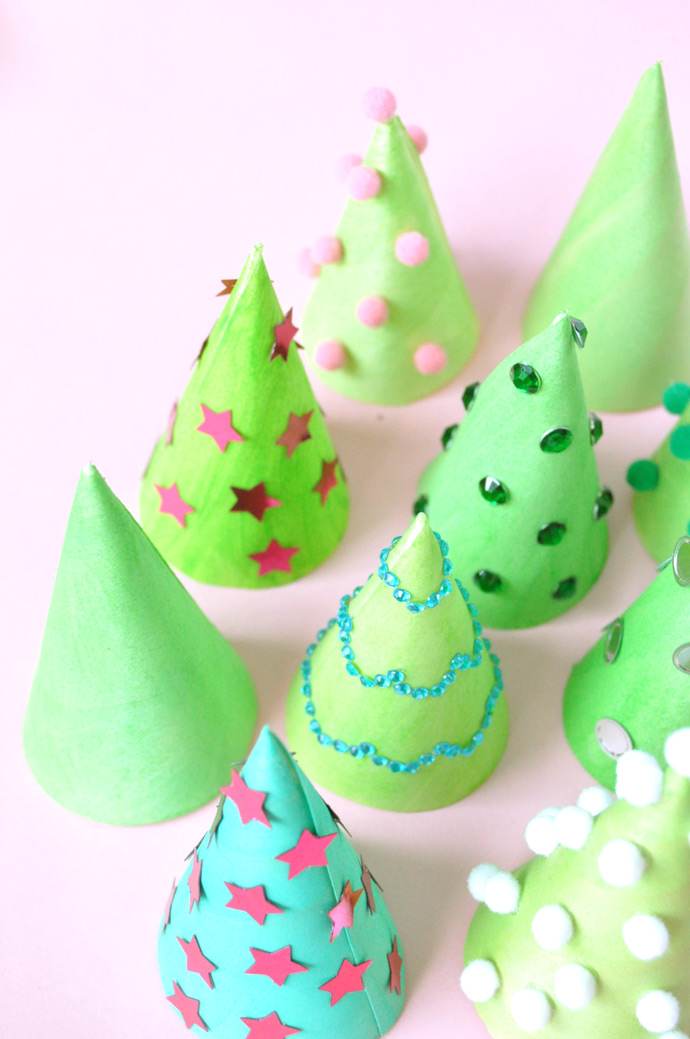
I love the subtle wood grain that shows through the paint and decorations. Look at your local craft store or packaging supply store for similar wooden cones – they’re super affordable. If you aren’t having any luck, you can replicate this idea by making simple paper cones instead. Either way, let’s get crafting!

DIY Wooden Christmas Trees

What You Need

DIY Wooden Christmas Trees
  • Wooden serving cones (like these)
  • Paint
  • Paintbrush
  • Pompoms, sequins, etc
  • Glue

How-To

DIY Wooden Christmas Trees

Step 1
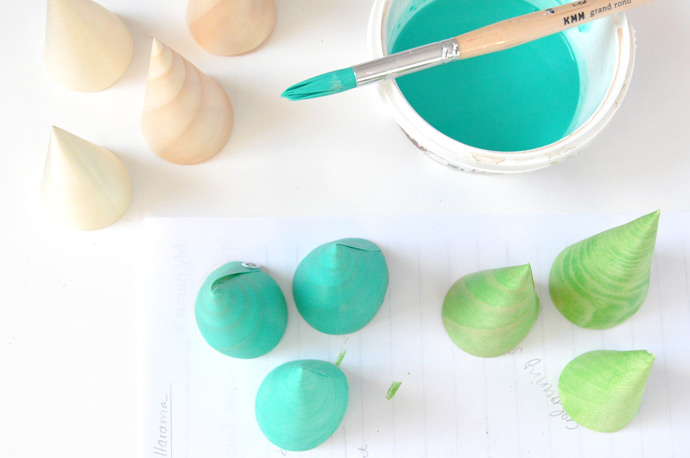
Cut off the excess bit of wood on the cone so that they will sit flat on the table like a Christmas tree.

DIY Wooden Christmas Trees

Step 2
Paint the trees in shades of green. If you add water to the paint to dilute it, it will act more as a stain and the wood grain will remain visible. Let dry.

DIY Wooden Christmas Trees

Step 3
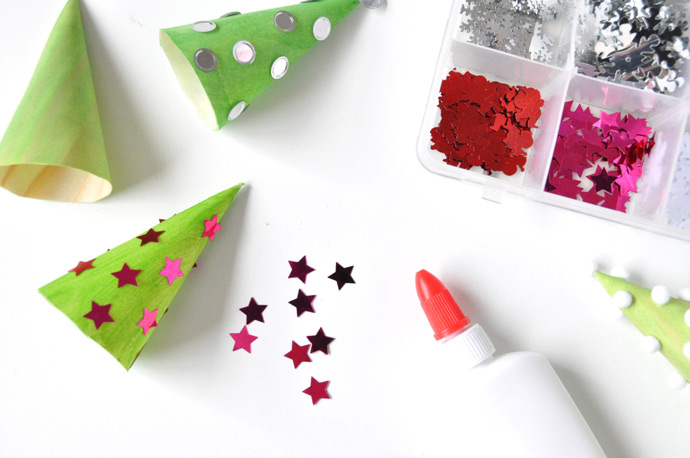
Time to trim the trees! Use white glue and sequins, mini pompoms, stickers, etc to jazz up the trees.

DIY Wooden Christmas Trees DIY Wooden Christmas Trees DIY Wooden Christmas Trees

Happy Christmas crafting!

DIY Printable Perpetual Calendar

Dec 15, 2016

DIY Printable Perpetual Calendar

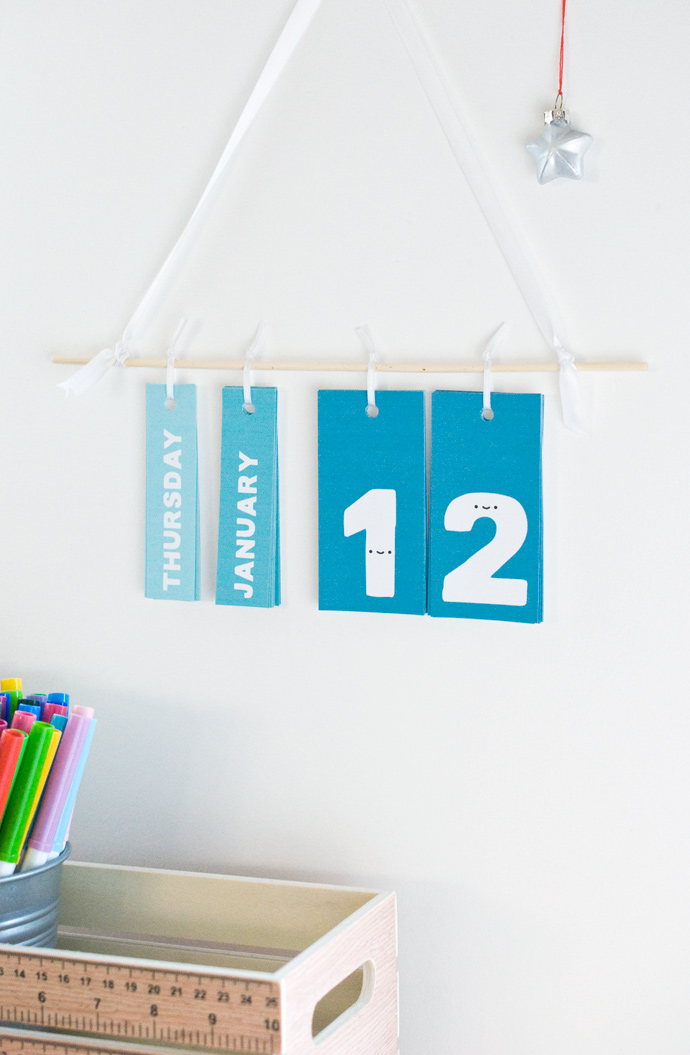
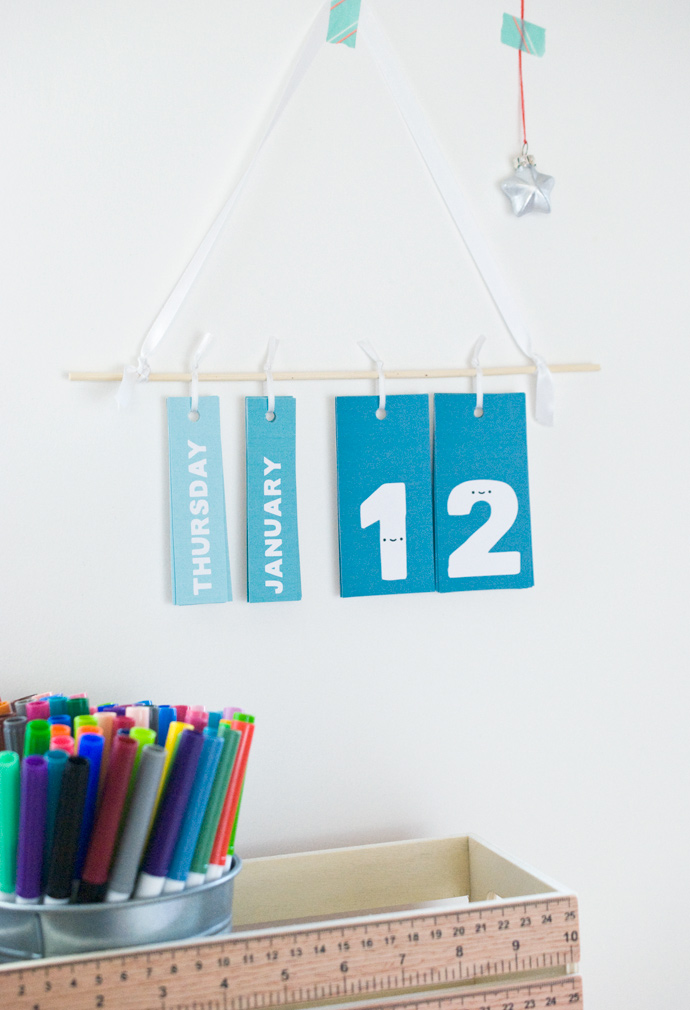
Help your kids keep track of the days with this easy perpetual calendar. It works for any year, which means you can make it and start using it any time! And who doesn’t want some smiling dates greeting them each day?

Little ones will look forward to changing the calendar each day. Plus it gives them the opportunity to learn the days of the week, months of the year, and to see time passing. Older kids can make this all by themselves, and then proudly hang it on their wall.

You can even choose what color you want for your calendar, or print more than one of the PDFs and make a wall hanging with multiple colors!

What You Need

DIY Printable Perpetual Calendar
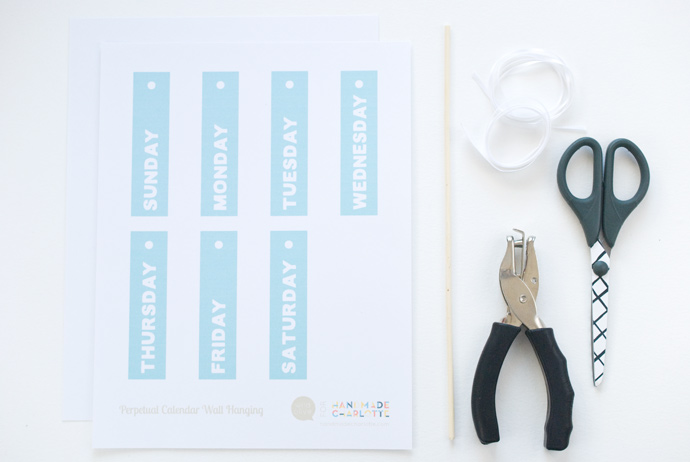
  • Card stock
  • Scissors
  • Hole punch
  • 1/8-inch wide ribbon
  • Thin dowel rod or thick skewer – about 10” long
  • 1/2-inch wide ribbon

Choose a calendar template:

  • Black Perpetual Calendar template (download here)
  • Teal Perpetual Calendar template (download here)
  • Coral Perpetual Calendar template (download here)
  • Lime Perpetual Calendar template (download here)

How-To

DIY Printable Perpetual Calendar

Step 1
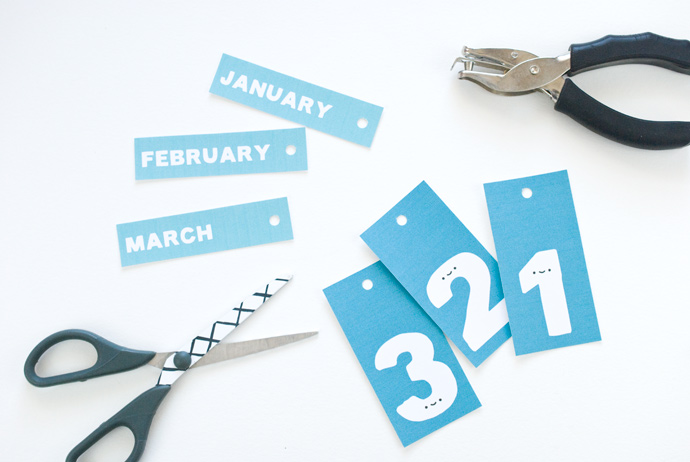
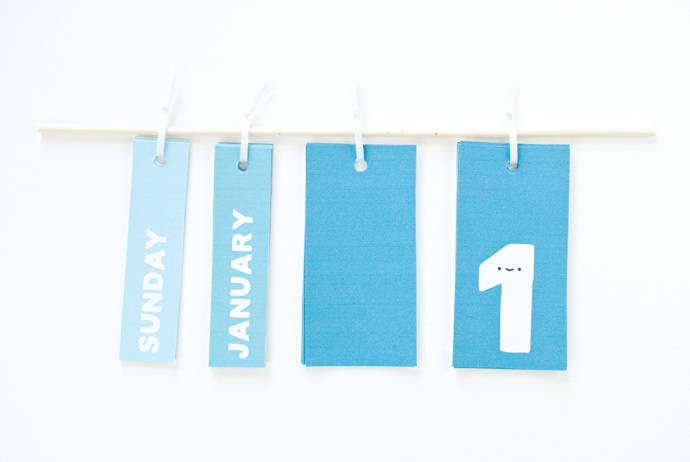
Print the calendar PDF on card stock and cut out each of the pieces. Punch the top with a standard hole punch.

DIY Printable Perpetual Calendar

Step 2
Divide the number pieces into two stacks. One stack should have numerals 0-9 and the other should have 0-3. Put the numbers in order.

If you’d rather, replace the 0 in the smaller stack with the blank rectangle. This way on dates with a single digit you can choose if you want a blank space or a 0 before the number.

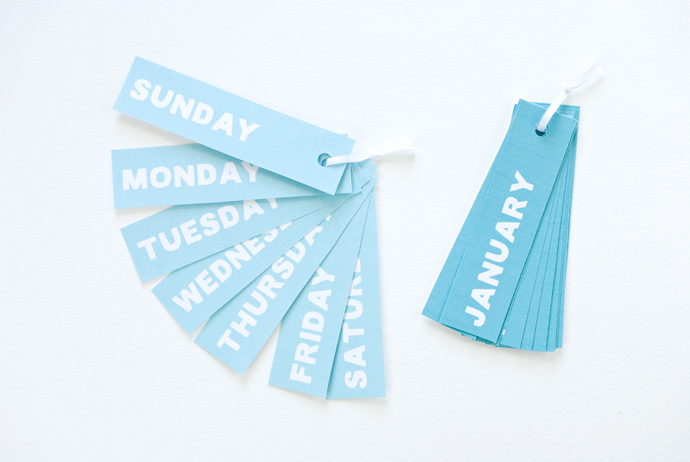
Cut a 5-inch piece of thin ribbon for each stack. Thread ribbon through the holes and tie the ends together.

DIY Printable Perpetual Calendar

Repeat the stacking and tying process for the days and months. As you tie each stack, try to keep the knots all the same distance from the holes. This will make the calendar hang evenly.

DIY Printable Perpetual Calendar

Step 3
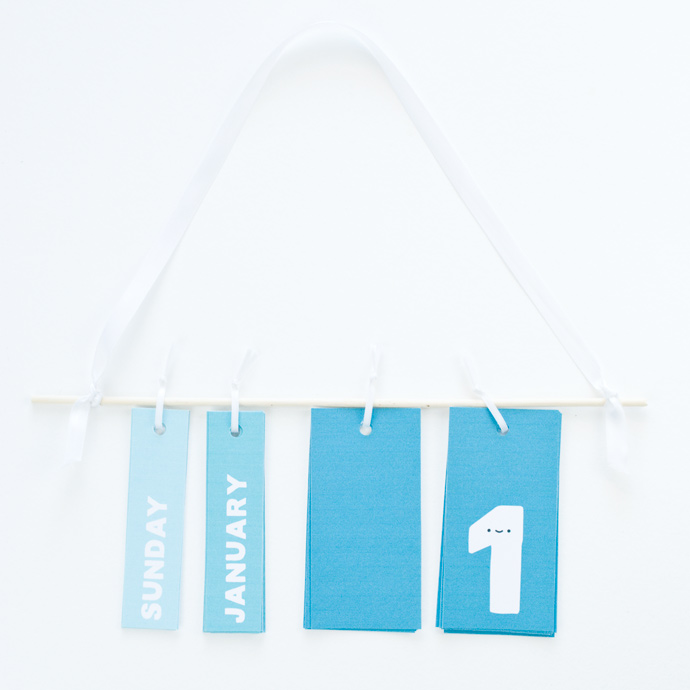
Slide the ribbon hangers over the dowel rod in the order that you want the date to read. For example, in the United States, we would say “Sunday, January 1”. In other parts of the world, you can alter the order to say “Sunday, 1 January.”

DIY Printable Perpetual Calendar

Step 4
Cut a 24-inch piece of wider ribbon and tie each end to the ends of the dowel rod. Adjust the ties and trim the ends so it hangs at the height you want.

DIY Printable Perpetual Calendar

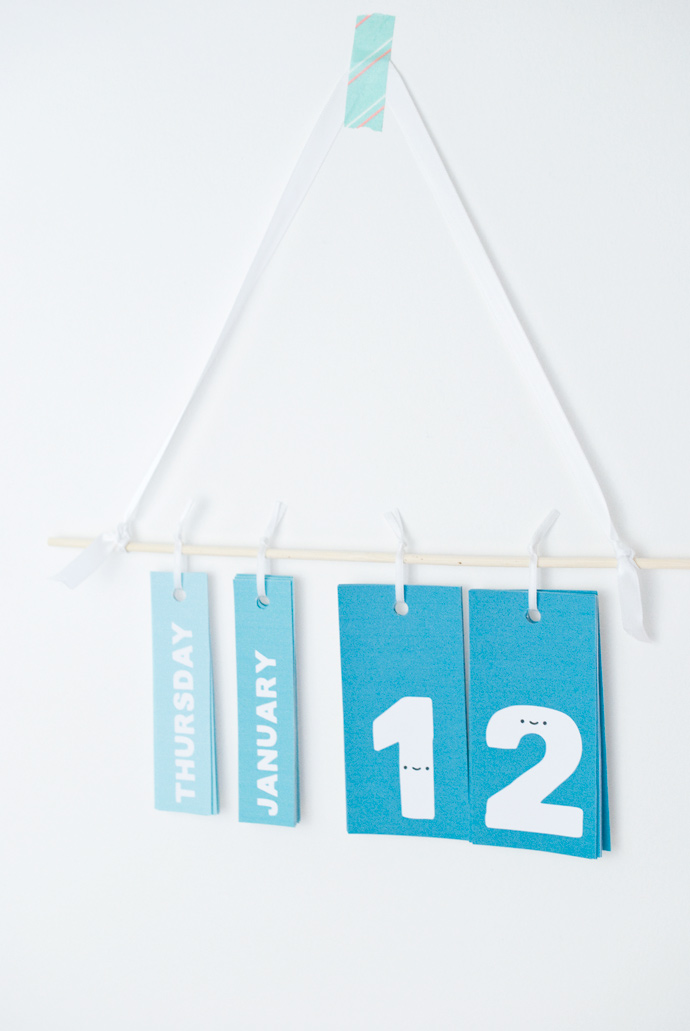
Now your calendar is ready to hang! You’ll need to space the hanging pieces so that the calendar balances.

DIY Printable Perpetual Calendar

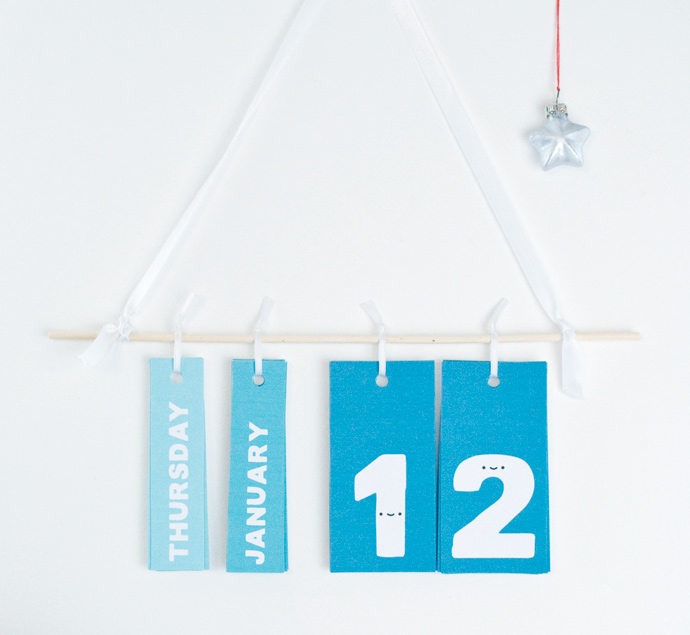
Each day, flip over the hanging tag for the day and the date. You’ll find that the ribbon knot may get stuck between the layers of the tags. That’s okay! It will still hang just fine. But of course, you can adjust the ribbons so they look pretty.

DIY Printable Perpetual Calendar

Keep flipping each day as you make your way through the year. And when you finish out the year, your calendar can keep going through the next near and the next!

DIY Printable Perpetual Calendar

Happy crafting!

DIY Advent Garland

DIY Advent Garland

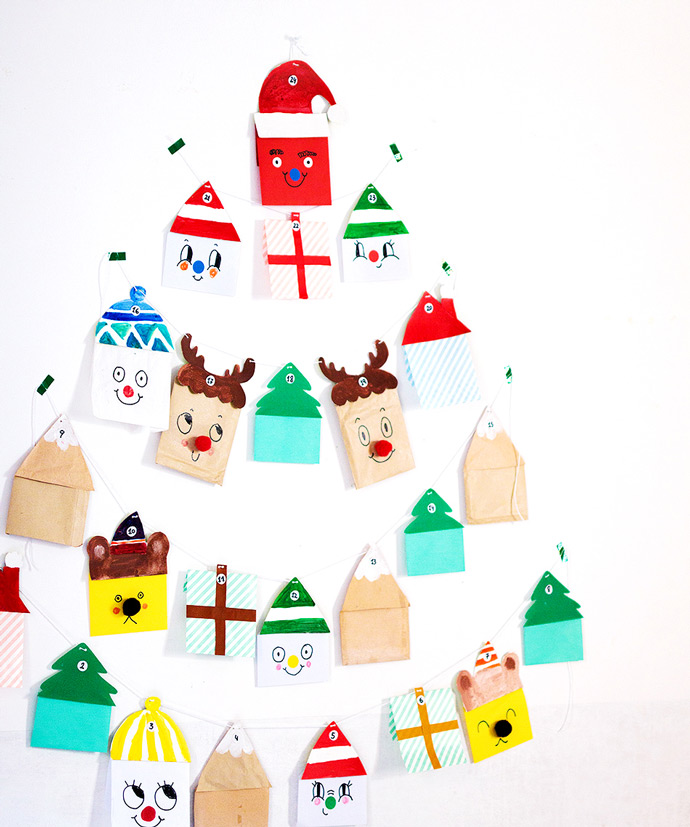
Make this holiday season even more joyful with a handmade Advent garland! All you need is some cord, paper bags, envelopes, the free printable templates, and a little imagination. This easy-to-make project is perfect to enjoy with the kids and guaranteed to put them in the holiday spirit.

DIY Advent Garland

The mini pouches are just big enough to hold a small gift or a sweet message. Later, you can use them as super fun Christmas tree ornaments. Let’s get started!

What You Need

DIY Advent Garland
  • Printable Advent Garland templates (download here)
  • 24 small gifts or messages on paper
  • Small paper bags, envelopes, lunch bags (or any large pieces of paper)
  • Empty cereal boxes
  • Colored paper
  • Pom-poms
  • Stamps or pen
  • Round stickers
  • Cord
  • Paint
  • Tape
  • Scissors

How-To

DIY Advent Garland

Step 1

Download, print and cut out the printable templates. These will be used to make the paper bag toppers. There are multiple designs that you can repeat for each day of the Advent calendar.

Draw and paint shapes onto the cardboard from the cereal box. Alternatively, you can use colored paper to make them (as I did on the tree or the gift) or reuse craft paper and paint (like the mountain design pictured).

DIY Advent Garland

Step 2
Cut out colored paper, paint recycled cardboard or reuse large pieces of paper until you have a total of 24 toppers. Punch two small holes centered on the top of each shape.

DIY Advent Garland

Step 3
Time to make the pouches!

  1. 
Use small paper bags to make 24 paper pouches, each roughly 4″ by 5″. Recycled envelopes or large pieces of paper will work as well.
  2. Fill the pouches with your favorite goodies and gifts. If the paper bag is too big for the topper, fold top corners at the back to make it smaller. Take the top of each paper bag and tape it to the topper, backs together. 
 Now your little bag mountain is ready to go!
  3. Repeat for the tree bag.
  4. Use decorated bags or paint any pattern to get a cute and colorful advent calendar (as I did for the house).
DIY Advent Garland

Step 4
Time to make the gift bag
~! Use patterned bags or paint plain bags with stripes or dots. Cut out two pieces of colored paper 5.5″ long by 0.7″ wide. Glue them, crossed together and centered, onto the paper bag. Make a tag by folding the top of the colored paper and punch two small holes. Fold and glue the excess colored paper on the back.

DIY Advent Garland

Step 5
Draw funny faces for the advent calendar characters. Add pom-poms or stickers to use as eyes, noses, etc.

DIY Advent Garland

Step 6
Thread Santa with a small piece of cord and tie it to hang on top of the advent calendar. Use a long piece of cord to thread top bags into different strands of garland.

DIY Advent Garland

Step 7
Tape and arrange garlands in a pyramid shape on the wall. Hang Santa on top and then make the first chain, threading three bags for the first chain, five bags for the second, seven bags for the third, and five for the bottom chain.

DIY Advent Garland

Step 8
For the numbers, I used black round stickers with written numbers. You can use stamps or other decorative elements to add numbers to the pouches.

DIY Advent Garland

That’s it! Now you and the kids can start the exciting countdown and make the holiday season even merrier. Happy crafting!!

 
Copyright © -2012 Colection hand made All Rights Reserved | Template Design by Favorite Blogger Templates | Blogger Tips and Tricks