Who needs a watch when you can use flowers to tell the time? Make this charming flower chart that doubles as a fun clock to teach your kids to read time. Recently I learned about Linnaeus’ flower clock – it was created by Carolus Linnaeus who had the brilliant idea to use the opening and closing of different plants and flowers to tell the time. You can read more about it here!
Whether or not your kids are already fascinated with clocks, this is the perfect craft project now that spring is finally here – plus, it’s a great excuse to wander around nearby parks and gardens. Printable templates of the floral clock faces are ready for you to download below, one including the names of the flowers and another blank option you can fill in yourself.

Go out with your children to a park or forest and encourage them to take the printable observation journal with them.
They can make notes, take photographs, or draw the different types of flowers that they see and then add colors, drawings, descriptions, photographs, or even real leaves and flowers on their floral clock. Get creative and have fun!

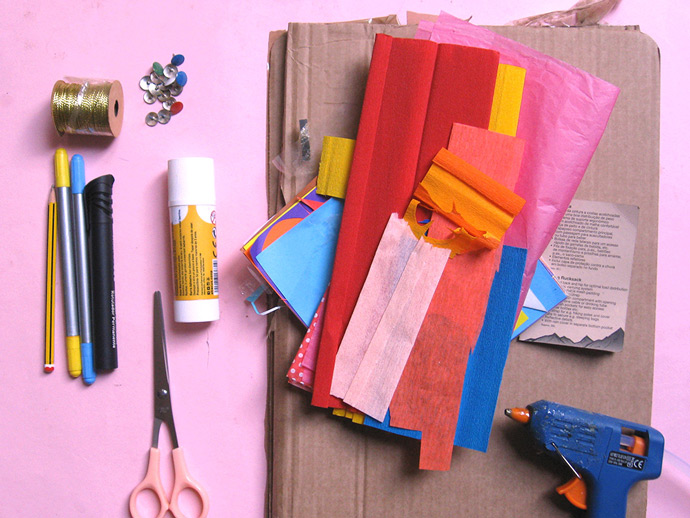
What You Need

- Printable templates (download here)
- Crepe and tissue paper
- Colored or patterned paper
- Cardboard (corrugated and thin)
- Thumbtacks
- Cord
- Scissors
- Hot glue gun
- Glue stick
- Markers, paint, or colored pens
How-To

Step 1
Download the printable templates containing the clock face, hand, journal, and flower templates. Print out copies of the flower observation journal page on plain paper and go out with your kids to observe flowers, taking photographs and notes. First, they’ll have to identify a selection of flowers that open and close at regular hours. You can help them look for specific plants and flowers by referring to books or looking for details online ahead of time.

Step 2
Print the blank paper clock face template and fill it in with your observed flowers around clock. Color it in or cut out the big flower templates and transfer them onto colored paper, and then glue onto the clock. You can instead print out any of the clock face templates with my selection of flowers to make it faster.

Step 3
Cut out a 10” circle from corrugated cardboard and cut out the clock hand from thinner cardboard. Paint them or cover with colored paper. Poke a thumbtack onto the marked spot on the hand to make a hole. Pick one of the printed clock faces and glue it onto the center of the cardboard circle. Place the hand over the hole and secure with a thumbtack. Cut small pieces of cardboard and attach to the backside of the clock to cover the sharp end of the thumbtack.

Step 4
Now it’s time to make flowers! Draw your own flower shapes and leaves, then cut them out from crepe and tissue paper. Or, you can use the printable flower templates and transfer them to crepe/tissue paper. Use the flower circle shape to cut circles from layered tissue paper, fold in a half and then cut tiny slits into the curved edge, following the templates. Create an extra layer of petals by cutting the second layer of tissue paper a little bit smaller than the first. Place your flowers and leaves onto the clock face around hours.

Step 5
Finish up the crepe flowers with fringed centers or by adding long, thin strips of crepe paper. Don’t forget to add leaves too! Pin the petals, centers, and leaves together using a colored thumbtack. Shape the crepe petals with your fingers, curling each side of the petal. Take the tissue flowers and fold them to form creases, and then open them back up and pin the center on with a thumbtack. Separate the layers of the flowers, fluffing them up into the center.

Step 6
Arrange and pin the paper flowers around the clock face. Lay the clock down and glue a loop of cord to the top of the back, for hanging. Glue small pieces of cardboard to cover thumbtack ends as before.

Step 7
As an added bonus, you can install a real clock mechanism to make your floral wall clock actually work! Otherwise, you can hang your new Linnaeus’ Floral Clock on the Wall and let your kids play while learning about numbers, hours and flowers.


Happy crafting!


